If you’ve never made your own creamy ricotta at home you’re in for a treat! This recipe give excellent results and you’ll love the fresh flavor of your ricotta when you put it on pizza as we did, or spread it over toast with a little honey or even use it in your favorite pasta dishes.
Every once in a while Rick and I will have a pizza fantasy night. We’ll make a large batch of dough and form several pizzas with our favorite toppings. We are always on the lookout for new toppings and have tried different types of flours to make the perfect crust.
That’s why I was so excited to have the opportunity to review Genuine Pizza: Better Pizza at Home by Michael Schwartz, a James Beard award winning chef and owner of the Genuine Kitchen.
Chef Schwartz starts with the dough, the foundation of all great pizzas. We’re given tips and tricks for making and forming regular, rye and gluten free dough. Next the discussion moves on to the sauce. There’s red sauce, white sauce, pesto, and cremas for the artisanal pizzas.
Then, a slew of deliciously different pizzas that are sure to make everyone’s mouth water. Every page revealed something interesting. Here are a few that caught my eye:
- bacon and potato pizza
- fennel pizza with caramelized onions and green olives
- peach and gorgonzola pizza
- clam pizza with preserved lemon
- soppressata pizza
- and the one that made Rick drool: Pastrami on Rye Pizza
There’s also a section on yummy things to eat with your pizza; side dishes, salads and adult beverages. It was in this section that I found the directions to make the ricotta.
Right off the bat I’m going to tell you this preparation is more like paneer, quark or cottage cheese than traditional ricotta. The difference is traditional ricotta is made from the whey leftover from making mozzarella whereas our plan is to curdle some milk with something acidic, and drain it. There are whole milk varieties of ricotta as well, and since we’re going to use it in the same way, that’s what we’re going to call it.
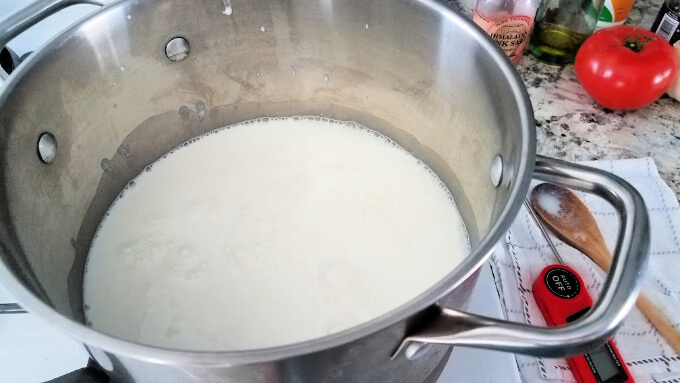
Equipment needed to make ricotta cheese
I’ve made both paneer and queso fresco before. The steps and the equipment needed are very similar. You’ll need:
- large stock pot
- large straining spoon
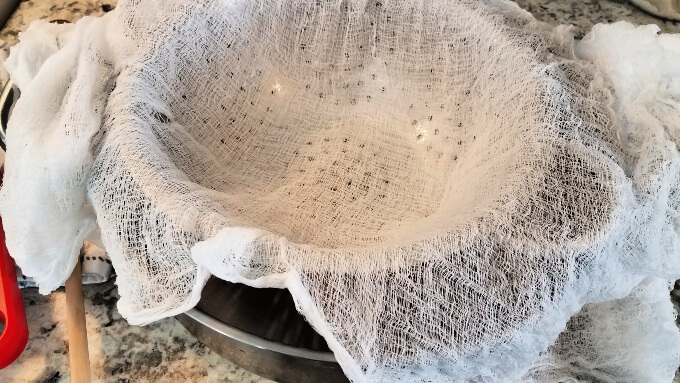
- cheesecloth
- colander
- kitchen thermometer (not necessary, but takes a lot of the guesswork out of the process)
Where to find the ingredients to make homemade ricotta
You will be surprised to hear this type of ricotta cheese only requires three ingredients: the best quality fresh, whole milk you can find, real buttermilk and salt.
You’ll need two cups of real buttermilk for this recipe. If you can find a pint you’re good to go! Otherwise purchase a quart (or half liter if not in the US) and use the extra buttermilk to make creamy tomatillo dressing. Or you can try the buttermilk panna cotta found in the same cookbook.
For the salt, kosher salt or table salt will be fine. You want something that will dissolve and easily blend into the cheese.
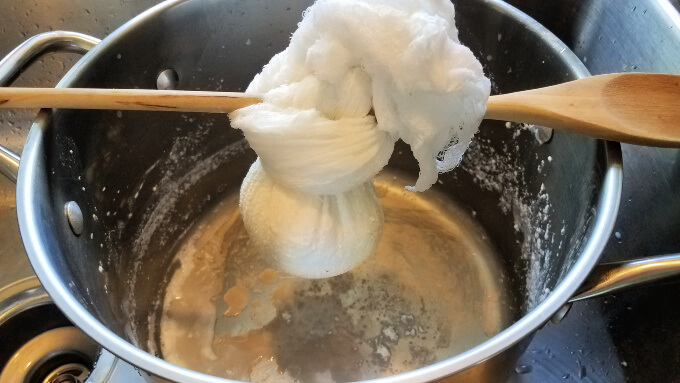
Homemade ricotta needs to be drained
You can purchase a cheese mold to drain the ricotta, but it’s just as easy to gather the cloth around the curds and tie it up so they can drain into a pan or bowl. When it’s cool enough to handle you’ll transfer the curds to a bowl where you can add more salt, or a little more whey.
Ingredients
- 2 quarts whole milk
- 2 cups buttermilk
- 1 teaspoon salt plus more for seasoning
Instructions
- Fold the cheesecloth in half so it fits your colander. Wet the cloth and return it to the colander. Set aside.
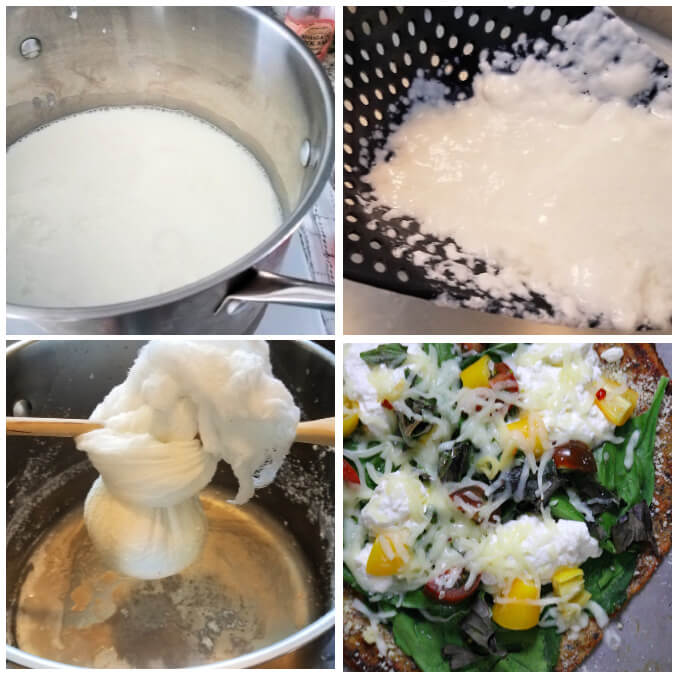
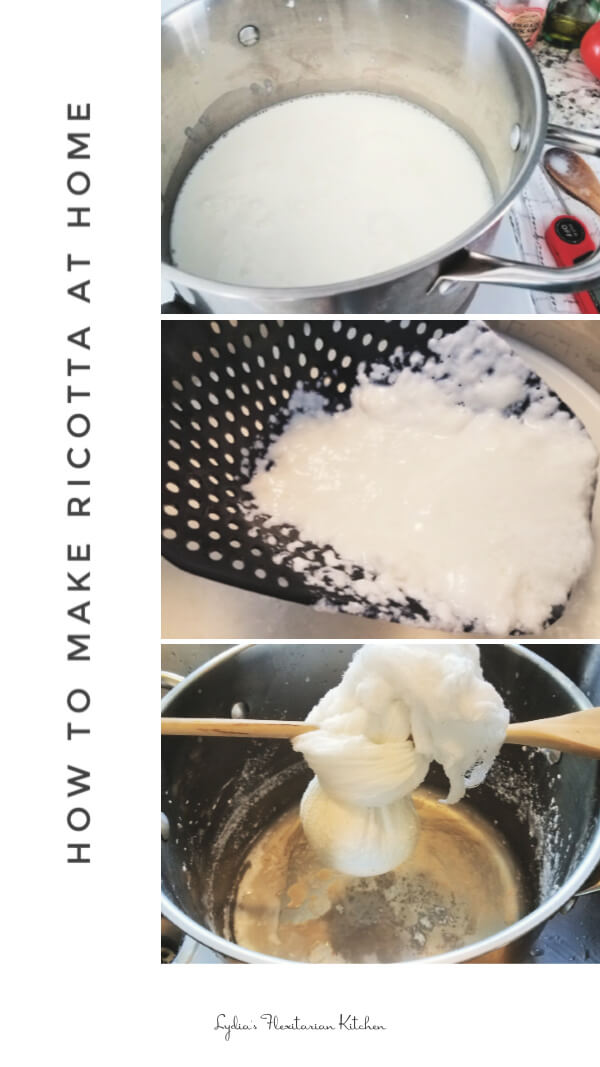
- Combine the milk, buttermilk and salt in a large pot and heat over medium heat. Stir almost constantly for the first five minutes or so, to prevent it from scorching to the bottom of the pan.
- Stir occasionally and check the temperature. You'll notice the mix will begin to thicken and look like cream and little bubbles will form around the edges of the pan. Mind the temperature so the milk doesn't come to a boil. When it's about 175F/80C turn off the heat and let stand without stirring for 5 to 10 minutes.
- Use a strainer to dip the curds out of the pot and into the cheesecloth lined colander.
- Reserve about a cup of the leftover whey.
- After the mix has drained for a bit, gather up the edges of the cheesecloth around the ball of curds and hang it from a spoon or your faucet for another half hour or so. Avoid overly tightening the cloth around the curds.
- When completely drained, transfer the ricotta to a bowl, you made to need to scrape some off the cheesecloth. If it seems dry, add a little whey. This is also the time to adjust the level of salt.
- The ricotta can be used right away or refrigerated in a covered container for up to a week.
I halved the ricotta recipe and had plenty to make a couple of pizzas using cauliflower crusts from Cali’flour Kitchen. You may recall I reviewed The Cali’Flour Cookbook a few months ago and made some fun grain free blueberry pancakes. The pizza crusts were also provided to me.
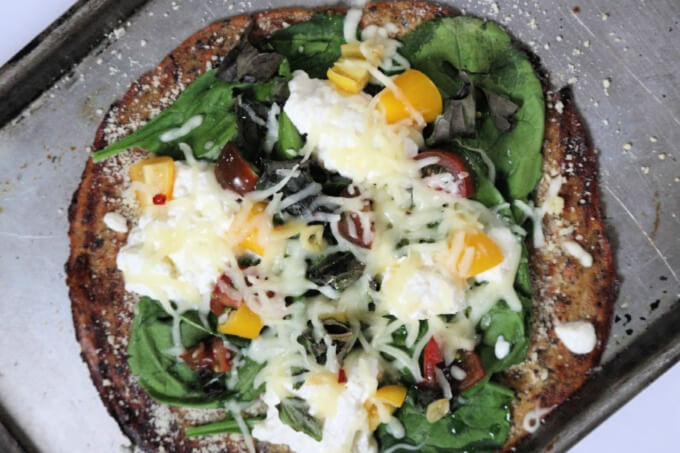
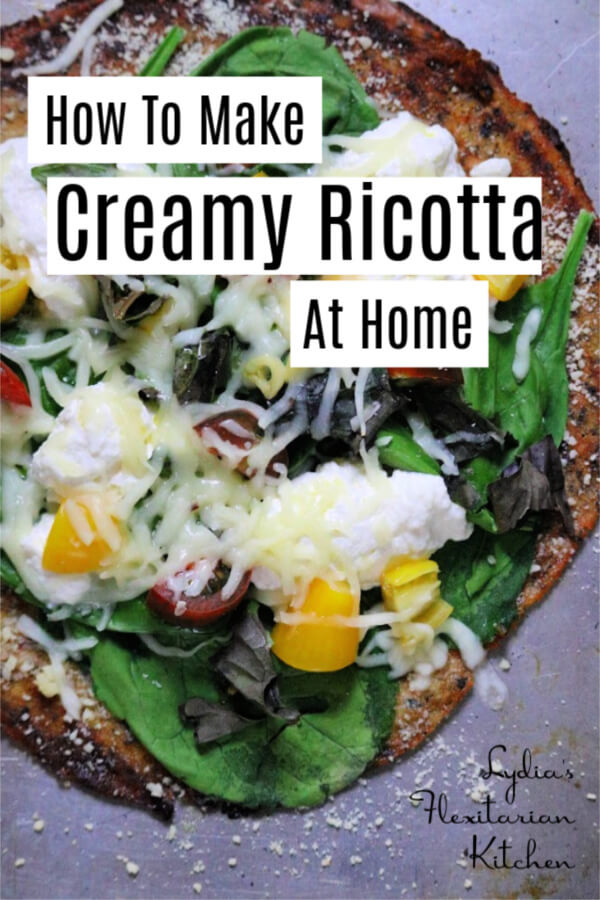
To make the pizzas I brushed the crusts with olive oil, sprinkled parmesan cheese and topped with greens. Then I added a dollop of creamy ricotta to each quarter of the crust and topped everything off with grated mozzarella, chopped cherry tomatoes and some chopped yellow bell peppers then baked according to the directions on the box. The ricotta was the star of the show!
Now that you know how to make creamy ricotta at home, how will you serve it?



Leave a Reply