My parents had a huge garden when I was a girl. There were three of us, so my father made sure everything was planted in some multiple of three (smart man). I spent many hours out there; planting, weeding and picking. And many more hours helping my mother prepare vegetables for the huge freezer we kept in the basement. Mom preferred freezing to pressure canning and we managed to freeze enough vegetables to get us to the next harvest season. Not everyone has the space, resources or desire to prepare so much food for the freezer, but wouldn’t it be nice to be able to handle a gift from a generous gardening friend or take advantage of seasonal sales? I’m going to show you how to freeze peas using the individual quick freeze method. IQF is how the big manufacturers prepare their product for the grocery store freezer. The product doesn’t freeze together in a big clump which means it will thaw and cook quickly. Best of all, it works for a wide variety of fruits and vegetables.
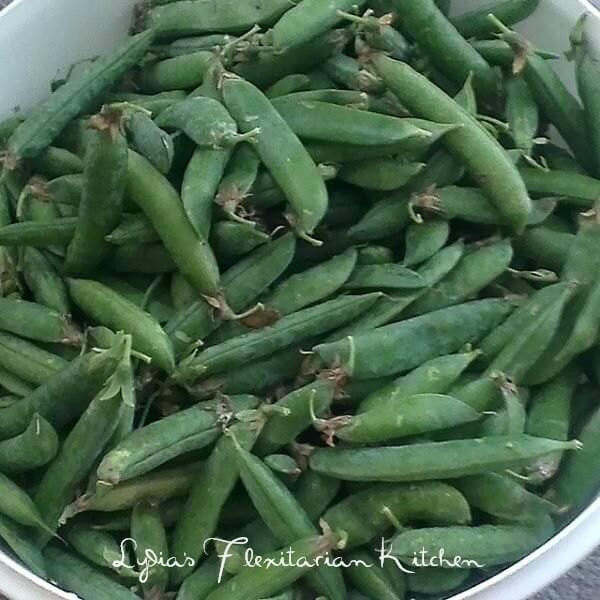
I’m using peas for the demonstration because I got a half bushel from my brother. I watched one of the World Cup games while I shelled them, ending up with about a gallon of freshly shelled peas. After rinsing and picking through the peas, it’s time to blanch them in order to prep them for freezing.
Some vegetables have to be blanched before freezing. This will kill the enzymes that cause the vegetable to age and lose quality after harvesting. Different veggies have different blanch times and some don’t need any. Others, like mushrooms, need to be steam blanched which is a big pain in the rear end. The few times I’ve frozen mushrooms were after they’d been sauteed. There are several places to turn to for information on blanching times. I’ll list the ones I use most often at the bottom of the post.
I use my large stock pot for blanching. The recommendation is a gallon of water per pound of prepared peas. I just fill my pot over halfway and dump in a third of the volume in peas after the water comes to a boil. It should come back to a boil fairly quickly. If it doesn’t, you’ve added too many peas…there’s a learning curve involved, but it’s better to blanch smaller batches because you can reuse the water a couple times before it’s necessary to change it.
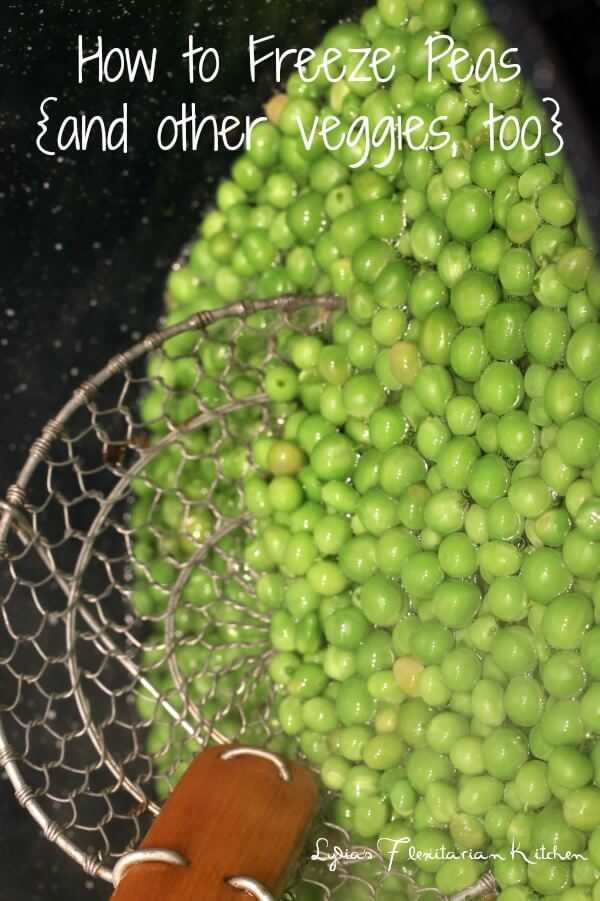
Start the timer when the water returns to the boil. For peas, the blanching time is 90 seconds. When ready, remove the peas using a spider or similar utensil. Let the water come to a boil again and repeat with another batch. Some people use a submersible basket for blanching which is very helpful when you have a lot of vegetables to process.
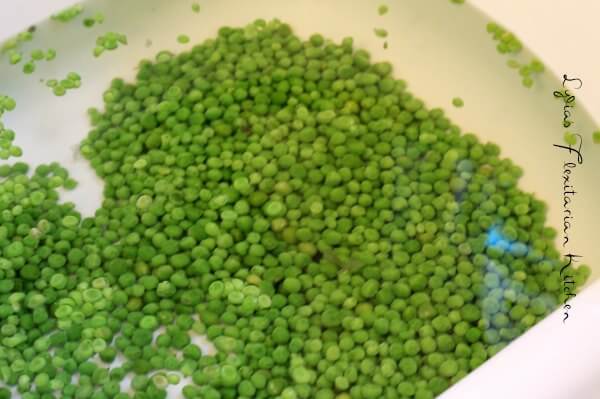
Once the peas have been blanched it’s time to cool them. I fill the sink with cold water. Some people add ice but I’ve never found it necessary. You should let the peas cool for at least 3 minutes. The rule of thumb is twice the blanching time. Now’s a great time to pick out all the bits of stem, pods and funky looking peas that were missed earlier.
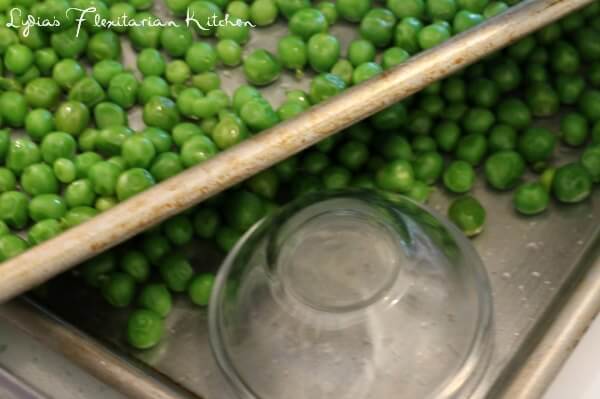
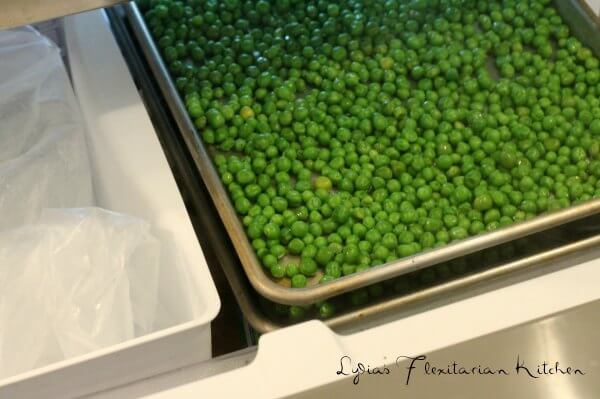
Scoop the cooled peas into a colander and let them drain well. Then spread in a single layer onto a couple of baking sheets. When I had an overhead freezer compartment, I just rearranged things so I could set the baking sheets on a fairly level surface. Now we have a bottom, pull out freezer and it’s a little more problematic. I use a couple of pinch bowls in order to elevate the second baking sheet.
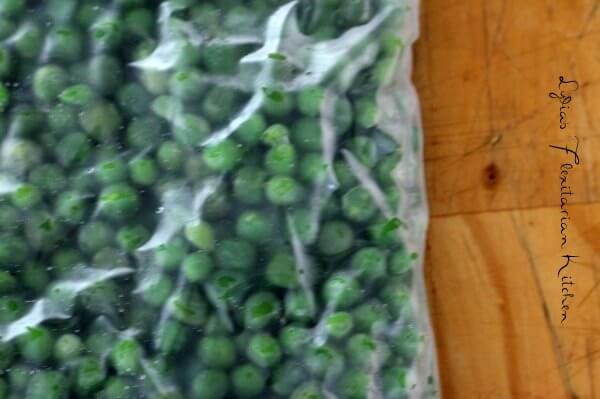
Let the peas freeze for a couple hours, then transfer to a freezer bag. I used a gallon sized bag this time, but quart and pint bags are available if you’d rather portion them out for meals. I use one generous handful per person for portioning. You may need to use a spatula to loosen the peas, but if you’ve drained them well, they shouldn’t be frozen in little chunks of ice. Express as much air as possible from the freezer bags every time you close them. (I have a friend who swears by his vacuum sealer but I’ve never used one). When it’s time to cook, measure the desired amount and either cook them on the stove by covering them with water and bringing to a boil or steam them in the microwave for 2 to 3 minutes, adding more time as necessary. Make note of the time it takes to cook the peas the way you like them.
This technique works for a variety of vegetables and fruits. I’ve used it with string beans of various colors, carrots, corn that I’ve cut from the cob, roasted beets that I sliced, winter squash that I roasted in the oven in chunks or pureed. Summer squash can also be frozen but it loses a lot of quality in my opinion. I’ve tried freezing portions of spaghetti squash and zucchini noodles. The results were just ok. You can also freeze sliced onions and peppers in this manner without blanching them, although the USDA recommends it.
Fruits I’ve frozen this way include strawberries, peaches, blueberries and cherries. I like to toss them with a little lemon juice and sugar to help preserve the color but it’s not necessary. Bananas can frozen with the peel on, but I find it easier to peel them and cut them into large chunks to use in smoothies and baking.
I hope time next time you’re offered a bushel of beans or find organic fruit on sale for a great price you’ll feel confident you can enjoy some now and preserve the rest for later. Do you have any experience with freezing or canning? Tell me about it in the comments.
Links for more information:
Pick Your Own: Great resource for freezing and canning information PLUS listings of local pick your own farms, and farmer’s and organic markets.
National Center for Home Preservation: Maintained by the University of Georgia, this site has information about canning, freezing, dehydrating, fermentation and curing. Lots of good stuff here.
Affiliate links to equipment used in this post: (I will earn a commission for any purchase you may make)



This is great information Lydia! We have been getting a ton of peas from our CSA and I would love to freeze some for winter. Thank you!
Glad you found the information helpful, Michelle. Thanks for dropping by! 🙂
Lots of good information here – thanks! Your brother is very generous, lucky you. Go USA! 🙂
Thanks! My brother derives a lot of pleasure from his garden and he’s happy to share his gleanings. It’s kind of funny because when we were little, he was the one most likely to “shirk” the garden duties.