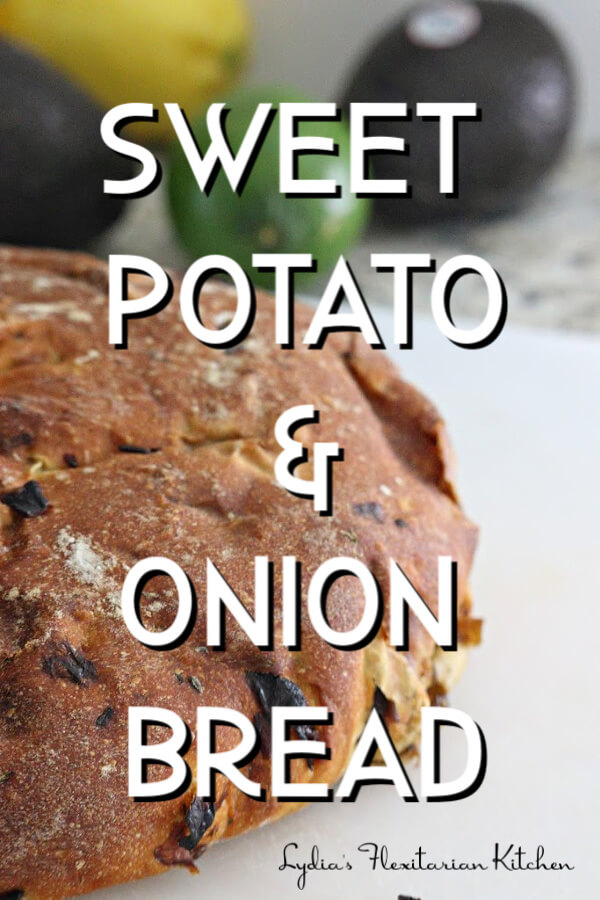
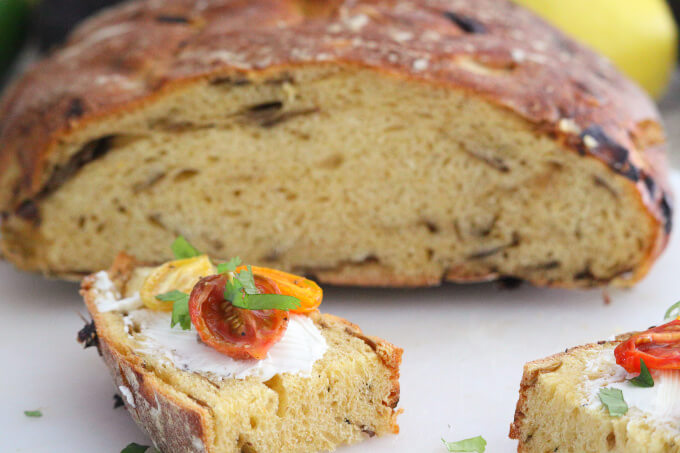
I worried that my sweet potato and onion bread would fail until I cut open a loaf. Beneath the chewy crust was a tender crumb dotted with bits of caramelized onions that made me smile. This was both the trickiest and the best bread I’ve made so far in my exploration of breadmaking.
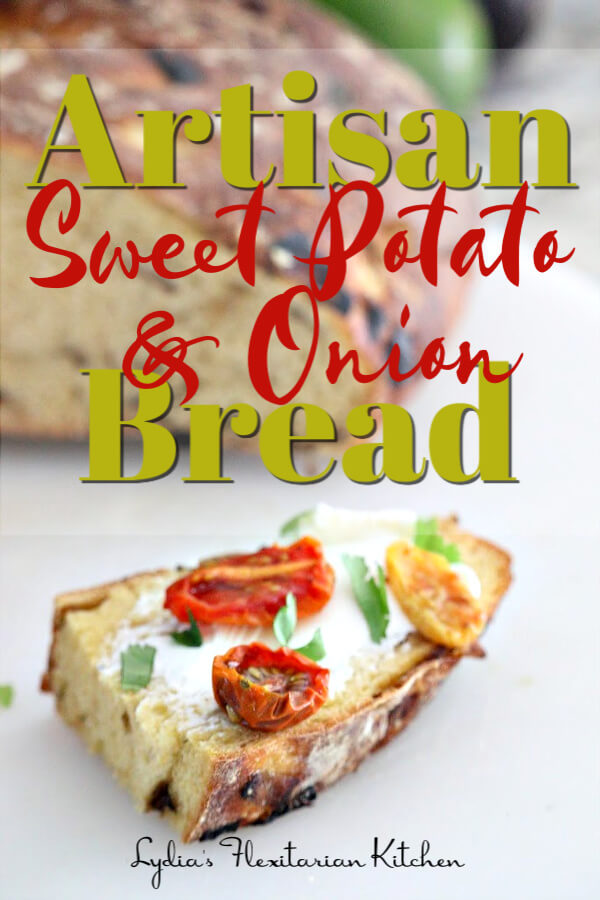
The recipe is from Vivian Howard’s Deep Run Roots cookbook. This is a treasury of recipes based on traditional Southern cooking techniques and ingredients, but modernized for today’s home cooks. I’ve wanted to make this bread since I first read the recipe but only recently have I felt confident enough to give it a try. I actually bought bread flour instead of using the AP flour in the cabinet.
If you decide to make sweet potato and onion bread, give yourself plenty of time. You need to prepare a starter the night before and there’s a long period of bulk fermentation before the loaves can be shaped. Then another hour and a half or so of proofing before the bread is baked. You need to be patient…but it’s worth it!
How to make a starter for bread
This was the first time I’ve used a starter, also called a sponge. It’s a combination of a small amount of yeast, flour and water that is left to ferment for a period of time. First mix the yeast and water, then after 10 minutes or so, add to the flour. Combine, then cover and let stand at room temperature as directed. The recipe will indicate how much yeast, water and flour to use as well as how long to let the starter ferment. In this case, it’s 8 hours to overnight. In the morning, you’ll have an almost mousse like thing full of bubbles.
When using a sponge you can dictate the speed of the process by changing the ratios of flour, water and yeast. See this post with artisan bread making tips for more info. This is a handy thing to know. It felt like I was at the mercy of the dough, hahaha.
There are other techniques and types of dough that don’t need the same amount of attention, but for this loaf, plan on making the starter, roasting the sweet potato and caramelizing the onions the night before you want to make it. Then, in the morning, you only have to mix the dough and let it do its thing until time to bake it.
Working with Very Wet Bread Dough
This is what’s called a high hydration dough. Vivian Howard warns it can be tricky to work with. In researching other blogger’s attempts to make this same recipe, many of them added up to a half cup more flour than called for. Now, I don’t have a stand mixer so I added small bits of flour as needed, and ended up adding probably a cup more than the recipe stated. It was a sticky mess, not at all smooth and silky and lucious to handle. I stopped adding flour as soon as the dough felt bouncy and stopped sticking to my fingers. I used a bench knife to help me lift the mass into a bowl.
In retrospect, I wish I’d kneaded the dough by hand in my largest mixing bowl instead of turning it out onto the counter. I’ve done this when working less hydrated dough to good effect. I probably wouldn’t have needed to add as much flour, either. This article on how to knead wet dough by hand lists some other techniques as well.
Folding, Fermenting and Shaping the Dough
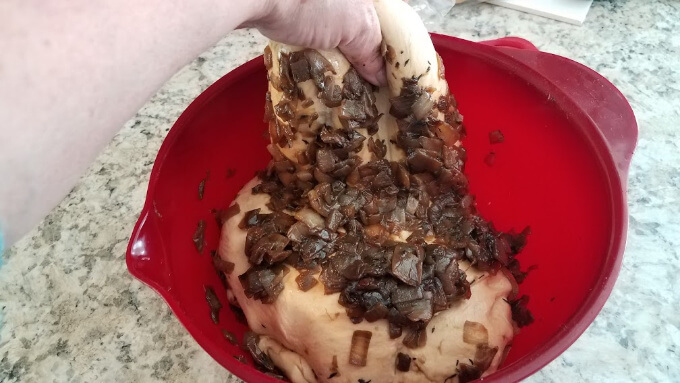
The mashed sweet potato is added when mixing the dough. The onions are adding during a process called folding. I first applied this technique when making focaccia at home. I had a good result with the focaccia, but with the additional flour, this dough felt rubbery and tough. By the final fold and addition of onions the dough felt better, but still a bit stiff. However, by the end of the bulk fermentation period, it felt and acted like other bread doughs I’ve made, just a little bit looser. The next step was to shape the dough and let it prove before baking.
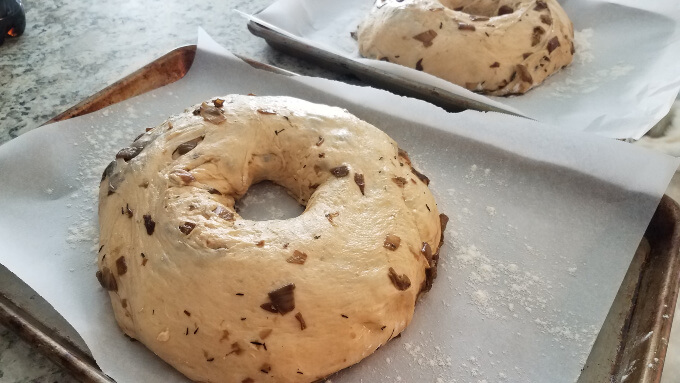
This loaf is shaped into a ring and baked. It was fun to do. Just form the round loaf, poke your fingers in the center and work the round until you have a large opening. The loaves looked great before I put them into the oven. I baked them according to the instructions and also measured the internal temperature of the loaf with a thermometer. It was 200°F/93°C when I took them out.
The heat caused the loaves to rise and closed the centers, which was a little disappointing, but not the end of the world. (My grandson said it looked like a belly button.) Other bloggers I’ve come across shaped their loaves into rounds, so if you’d rather do that, feel free.
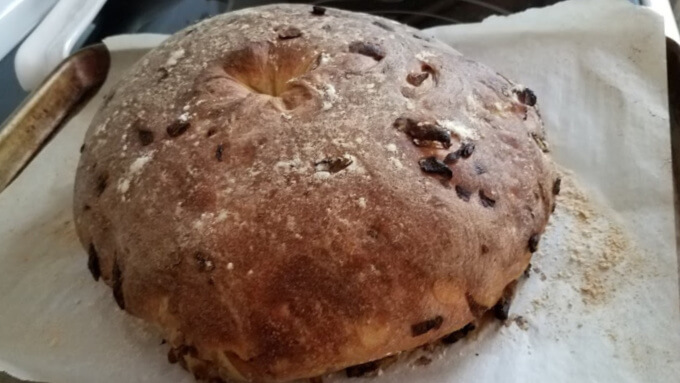
Cutting into the bread was the most satisfying thing I’d done all week. Just to get to that point required around 16 hours of waiting from the time I’d mixed the starter until the bread cooled on the rack. We all enjoyed a few pieces without any adornment. The grandsons loved it and asked for more.
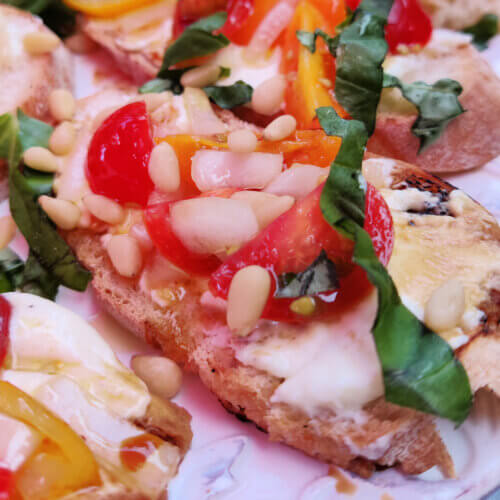
To store the loaf, I wrapped it in a towel, then in a plastic bag and put it in the microwave to store. It kept for a couple of days as we sliced pieces off of it. We used it for sandwiches and for toasting. In the photos the bread was spread with cream cheese and topped with oven roasted cherry tomatoes.

Ingredients
Starter (night before)
- 1/4 teaspoon active dry yeast
- 1/2 cup warm water (105 - 115°F)
- 2/3 cup bread flour
Sweet Potato Puree (night before)
- 1 large sweet potato, baked, peeled and pureed. Reserve 1 cup puree for the dough
Caramelized Onions (night before)
- 5 - 6 onions, peeled and diced (you want between 6 to 8 cups diced onions before cooking)
- 1 tablespoon olive oil
- 1 tablespoon salt
- pinch red pepper flake optional
Bread Dough (in the morning of baking day)
- 3 3/4 cup bread flour plus extra for dusting
- 1 3/4 cups plus 1 tablespoon lukewarm water
- All of the starter
- 2 teaspoons honey
- 1 cup roasted sweet potato puree
- 1 teaspoon salt
- All of the caramelized onions
Instructions
Make the starter
- Combine the yeast and water in a small bowl. Let stand for 1 minutes.
- In another bowl whisk together the bread flour and 1/3 cup of the yeast mix. You won't use all the yeast mix and the starter will be very sticky.
- Cover with plastic wrap and let stand at room temperature overnight or up to 12 hours.
Caramelize the onions
- In a large skillet over high heat, add the oil and red pepper flakes. Add the onion and salt, then stir to coat. When the onions have softened and start to change color, turn the heat down to very low.
- Continue to cook over very low heat until the onions are dark in color and have reduced in volume. You should have around 2 cups or so. Refrigerate until needed.
Sweet potato puree
- Cook the sweet potato however you desire (I microwaved mine). Allow to cool, then remove the flesh and mash. Refrigerate 1 cup of the puree for the bread until needed.
Making the dough
- Let the onions and sweet potato puree stand at room temperature for 20 minutes or so while you begin mixing the dough.
- Measure the bread flour into your largest mixing bowl. Add the water and bring together to until there's no dry flour left. You should have a wet, rough dough. Cover and let rest for 10 to 20 minutes.
- Mix in the starter, honey, sweet potato puree and salt. (I did it by hand)
- Turn the wet dough onto your work surface. Add just enough flour to allow the dough to be handled. Knead until it forms a loose ball, adding more flour as needed.
- Put the dough ball in a large bowl and cover with oil sprayed plastic wrap.
- During the rise you'll fold the onions into the dough. Every 20 minutes, add 1/4 of the onions to the top of the dough. Fold and turn by lifting each "corner" and folding over the center of the dough. I start at the far side and turn the bowl until I've folded each corner over. Then turn the dough ball over. Repeat every 20 minutes until all the onions are added.
- After the last addition let the dough remain undisturbed for another 3 hours.
- Turn the dough out onto a floured work surface and divide in half. Shape each half into a round. Let rest 10 minutes.
- Line two baking sheets with parchment paper and dust with flour.
- Stick your finger through the center of one of the dough balls and form a small hole. Transfer to a baking sheet and continue to stretch the center into a 3 inch hole. (Like a bagel)
- Dust the tops with a little flour and cover w plastic wrap. Let proof for an hour and a half.
- Preheat oven to 450°F/230°°C. Position the racks so both pans can bake at the same time. Bake 15 minutes then rotate the pans. Bake 15 minutes more. Remove from oven and let stand at least 15 minutes before serving.
Notes
Final Thoughts
As mentioned in the post, I wish I’d done more research BEFORE jumping in and making the my artisan sweet potato and onion bread. I didn’t know what to expect. It helped to read how other, much more experienced bread makers handled the dough. Karen’s Kitchen Stories formed hers into ciabattas and A Messy Kitchen adapted the recipe to make a single loaf.
Despite all of the tribulations I was rewarded with two delicious loaves of bread.

I’ve never had sweet potatoes in bread! Fun idea! And the bread looks wonderful. Bet it tastes heavenly! Thanks so much. 🙂