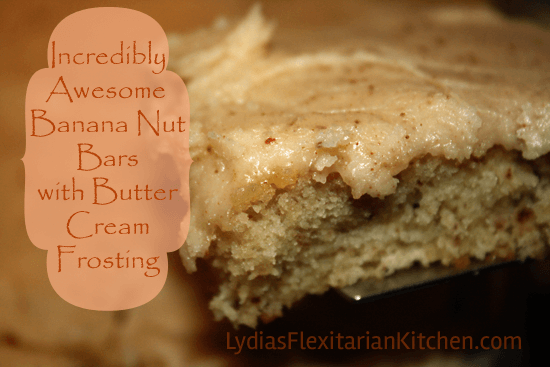
Incredibly awesome banana nut bars live up to their name. Take your banana nut bread recipe up a notch by baking it into bars and spreading a creamy butter cream frosting over top.
Yes, we have over ripe bananas…
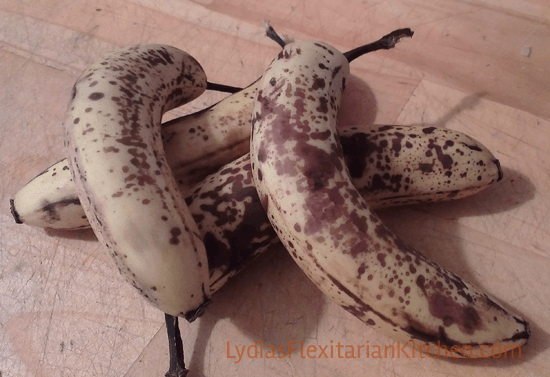
It all started when I woke up one morning to find my bananas nearing the point of no return. By happy coincidence, this recipe also showed up in my Pinterest feed that same day.
By another happy coincidence, I had all the other ingredients in the house so I didn’t have to run to the store. There are a lot of ingredients, but the bars come together easily and– even better– with the right equipment, you won’t need to pull out the mixer (unless of course you want to).
You will need to mash the bananas. I used a potato masher, but you could use a fork.
You’ll also need a 9″ x 13″ jelly roll pan (also called a quarter sheet). Make sure you have a sturdy spoon and a large bowl to mix the batter. I confess, a mixer will make the job much easier.
It’s the frosting that makes these banana nut bars incredible
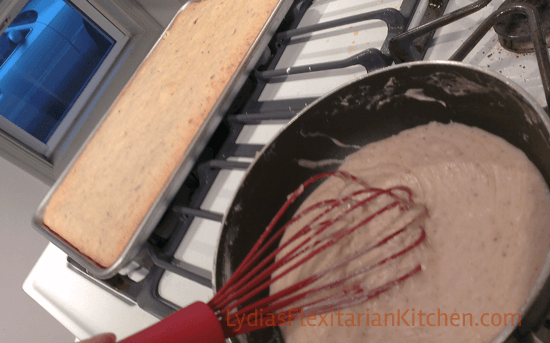
My son and I had a minor debate. I thought the bars would be awesome without the frosting. He thought the frosting was what made them incredible. Our advice: don’t skip the frosting!
Ingredients
For the banana nut bars:
- 3 – 4 ripe bananas (between 1 1/2 and 2 cups, mashed)
- 2 cups flour
- 1 teaspoon baking soda
- ¾ teaspoon salt
- 2 large eggs
- 1 cup sugar (up to 1 1/2 cups can be added)
- 1 cup sour cream
- ½ cup butter, softened (1 stick or 4 ounces)
- 2 teaspoons vanilla
- ½ cup chopped nuts (optional) (pecans or walnuts are good choices)
For the brown buttercream frosting:
- ½ cup butter (1 stick or 4 ounces)
- 3 – 4 cups confectioners sugar
- 1 ½ teaspoons vanilla
- 2 – 3 tablespoons milk (as needed)
Instructions
For the bars
- Preheat the oven to 375°F/190°C and prepare a rimmed baking sheet with cooking spray.
- Smash the bananas and set aside.
- Measure the flour, baking soda and salt into a medium bowl and stir together to mix. Set aside.
- Beat the eggs, sugar, sour cream and softened butter in a large mixing bowl until light in color and creamy.
- Mix in the bananas and vanilla. Stir vigorously until well blended.
- Add the flour mixture in thirds, stirring well after each addition.
- If using nuts, mix them in at the end.
- Spread the batter in the pan. Use a spatula to make it even. Bake for 20 – 25 minutes. It’s done when a toothpick comes out clean when inserted.
- Make the frosting while the banana nut bars are cooling.
For the frosting
- Cut the butter into chunks and melt in a large saucepan over medium heat until the butter begins to bubble, foam and boil. Continue to stir the butter until the foam subsides and the butter turns a nice brown color. It takes longer than you might think, so mind the heat.
- The original recipe calls for 4 cups of confectioner’s sugar, but I found 3 was plenty. Remove the browned butter from the heat and add the sugar a little at a time, stirring to incorporate after each addition. You want to smooth all the lumps out before adding more sugar.
- Add the vanilla and enough milk to make the frosting spreadable. Immediately spread the frosting on the banana nut bars (it’s easier if both the frosting and the bars are still warm).
- Cut into bars and enjoy with a glass of milk, cup of tea or coffee.
Notes
More snack cakes:
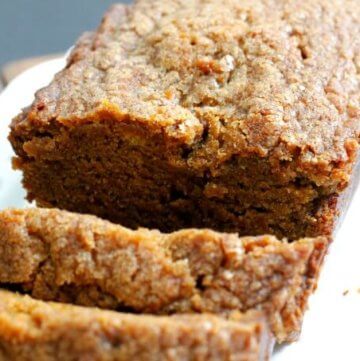
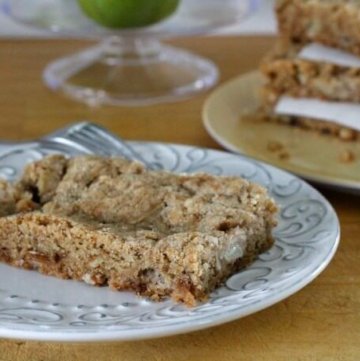


I love banana bread, but I’ve never tried bars before. But that frosting looks so delicious I think I might have to change that!
Thanks for sharing at Saturday Dishes! Hope to see you this weekend for Asian recipes!
They live up to their name 🙂
Your banana bars look so moist and delicious. I pinned this post! Thanks for stopping by and linking up at Saturday Dishes Cakes & Party ideas.
Blessings,
Diane Roark
recipesforourdailybread.com
They really do live up to their name. Thanks for pinning and dropping by to comment 🙂
Looks and sounds like a healthy easy recipe. Twit and pin it. Thanks for sharing. From Real Food Fridays
I’ve made them several times now. They’re good without the frosting, too (but I highly recommend it!)